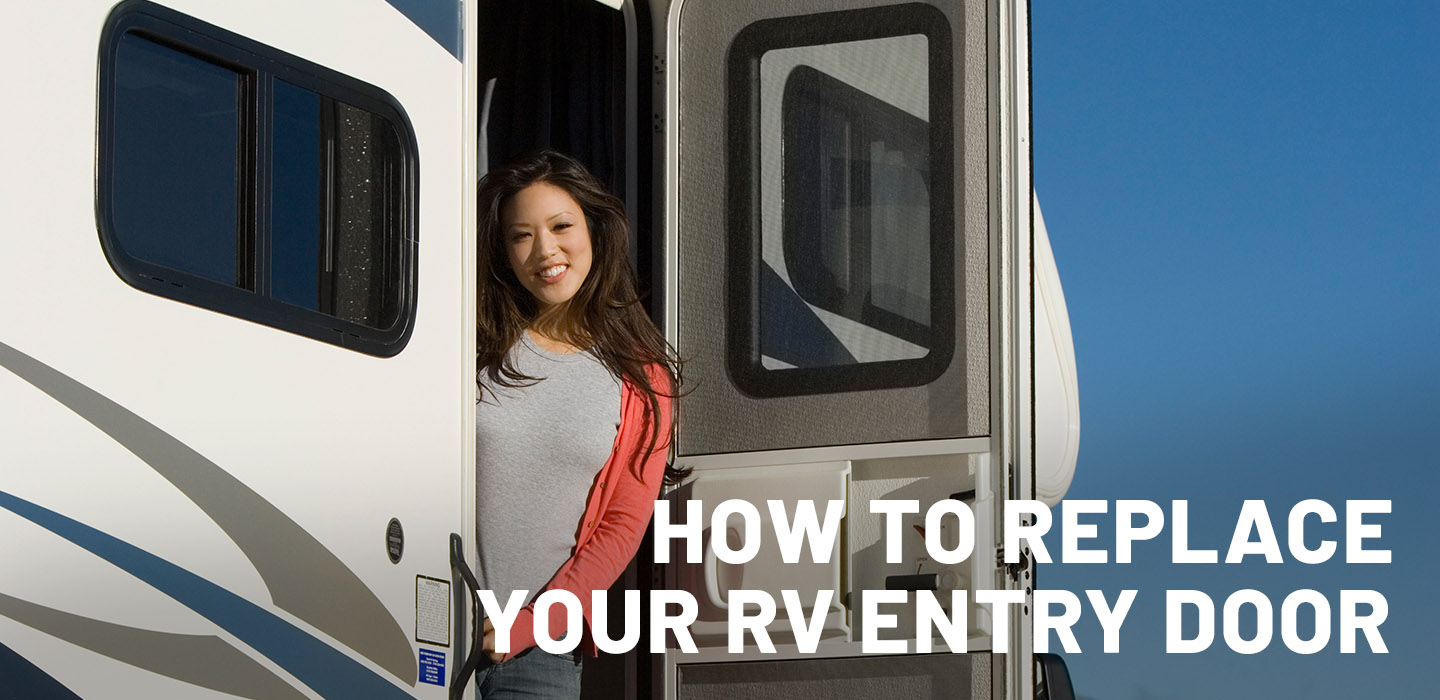
3 RV Door Upgrades to Makeover your Entryways
Share article
When you’re on a camping trip, how many times do you go in and out of your RV?
We’ll bet the answer is a lot. And, if you have kids or a dog, then it’s more than a lot. That’s what makes this video a must watch.
The RV enthusiasts at Wandering Weekends added three RV entry door accessories to their rig that removed some common headaches from their camping trips. No more concerns about privacy, the door staying open, or their dog damaging it.
Check it out…
Wandering Weekends Shows You How to Upgrade an RV Entry Door
(click image above to play video)
Introduction
Brooke: Hey, everyone. In today’s video, we’re going to do an RV door makeover. Our friends at Lippert have sent us three accessories that are perfect for if you have a dog, or you go camping with kids. They’re going to make your life a little easier. And we’re going to go from this door to this. Stay tuned.
Three RV Entry Door Accessories That Will Make Your RVing Life a Little Easier
Brooke: All right. So, the first accessory I want to show you guys is this Screen Shot. This is going to keep your door closed. So, if your kids are like mine and they automatically run out, don’t shut the screen door behind them, this is going to shut the screen door for us, so I won’t have to yell at them anymore.
Cory: Yeah, we’re going to test that at the end. We’ll get the kids out here and test that. That’ll be funny. So, we’re taking care of the human babies with the Screen Shot. We’re going to take care of the fur babies with the Screen Defender. So, this will protect Tallulah from punching her paw through our screen in our door. It’s made out of powder coated aluminum. It’s going to pop right in, and hopefully a pretty install. We’ll see. We’ll show you how to do that. And then, finally, our favorite. You saw in the intro where we went from this frosted door with a piece of reflective material, which works good, but it’s not exactly that attractive, to the Thin Shade. And the Thin Shade is going to solve both of those problems. It’s going to look really great. We’ll show it again here in a second, but it’s also going to block the heat or the cold with the shade. And we just spent a weekend with that Thin Shade – we haven’t installed this one yet – and I think we really like it.
Brooke: Yeah, me too.
Cory: It’s so interesting how weird it is when you’ve always had a frosted window and you couldn’t see out of your door, to being able to see out of your door. Especially on the campsite side. So, having an extra window on the campsite side, especially with kids, that will be awesome. Let’s get this stuff installed.
Prepping an RV Entry Door for Thin Shade™
Cory: So, the first thing I have to do is take down this piece of reflective material, OK? And you can see, it’s just held up by Velcro, there. There you go, Brooke. And then I have, I believe it’s 16 screws, and the other day when I was installing the other one, I didn’t take this one out, because the Velcro was blocking it. So, probably won’t have that problem now. I'm going to zip these screws out, but there are other windows that are just clamped in. But, similarly, how we’re going to install the Thin Shade, you don’t see screws, you either have little clips that come with the Thin Shade kit, and you’re going to pry them back here, and it’s going to release those clips for this window to come open – come out, OK? So, it’s just sandwiched in there and tightened down and sealed. And so, mine is a screw version, but there’s also a seamless version with clips on the inside. You’re going to get that hardware in the Thin Shade. So, let me go ahead and zip these screws out.
All right, this just pops out, OK? There we go. Now, there’s a piece of glass right behind it. You’re going to want to grab that and pop it out, too, OK? Now, Lippert does suggest using two people to do this. I'm doing this by myself. For the install, you’re definitely going to need two people. With this way, I’ve got the door propped up against here, so if it were to fall out, it would just hit the side of the rig, so I'm good. But yeah, if your door is not secure, you’re going to need two people to do this.
And then on the other side, let’s move that camera a little bit, Brooke, so they can see. Probably can still see. You’re just going to pull that out. It’s going to be a little bit sticky because of the sealant around it, all right? But now, we have a complete hole in our door. You can see the door thickness and how it’s constructed a little bit, which is cool. I'm going to go grab a little acetone and clean up this adhesive around the edge. Stay tuned.
I just got a little acetone here and I'm just going to put a little bit on a rag and go around the sides and clean up this old adhesive right here. I just want a nice fresh seal when I come back with the new Thin Shade.
Demonstration of How to Install Thin Shade from Lippert
Cory: Let’s talk about what’s in the kit. I’ve got our – I’ve got us all prepped up, ready to go. Opened up the kit. Of course, we have our piece of tinted tempered glass. It’s the same tint as the rest of our rig, so it’s going to match and that’s really awesome. It’s going to look a whole lot better than that frosted window. Then you’ve got your shade itself. We’ll show you how to install this in the frame here in just a minute. And then you have your frame. Now, you’re going to want to make sure that your little secure levers here are on the inside of your door. That’s how we’re going to secure the Thin Shade, the shade itself, inside the frame. So, make sure those are on the inside. You can see the outside is just a clean frame. And then lastly, like I mentioned before, some of you may have the clip style insert for your frame. We’ve got the screw. These are going to be to help you remove your window if you do have that style of frame. We don’t happen to need these for our particular window. Let’s get going.
What I've done here is, I’ve taken the piece of glass, or tempered, tinted glass, and I've put it on the exterior frame. You see there’s a nice seal right there. I don’t know if you can see it there or not, but it’s sealed to the glass, and then we’ll have another seal to the actual frame of the door. This is where you need two people, hence my boss has come along to help me. Thank goodness. And she’s going to hold this up while I get the other piece of the frame and insert it in. So, it’s a little bit tricky. I'm pretty handy. I usually do things by myself. This is definitely something you’re going to need two people to do.
All right, you got that?
Brooke: Yes.
Cory: Hold that glass there.
Brooke: Got it.
Cory: Now, as far as the interior frame, it doesn’t matter if you install it this way or this way, it’s not going to matter. All of these levers to secure our Thin Shade are going to be the same for both sides. So, that’s not going to matter. All right, let’s see if we can get this on the first take, what is the chances?
Brooke: Not good. [laughter]
Cory: It’s actually not that bad.
Brooke: Are you coming up here?
Cory: Go ahead and push it in there. Push your part in here. And I’ll make sure it doesn’t fall this way. So, I'm just making sure the glass didn’t fall my way, and she’s lining up everything on her end.
Brooke: All right, it’s lined up.
Cory: And I'm going to come in here and find my little insert right there. You can kind of see them. You’ve got to press against. And you hear that sound? That’s a really great sound, OK? So, now we’re just going to go all the way around and lock them in. Holding up against me up there?
Brooke: Yeah.
Cory: I think you’re good now. I think you can come on down.
Brooke: You just got to push the top.
Cory: I just got to push the top in. Yeah. And I just take it from the bottom and just kind of sandwich it up to the top, all right?
I had to go change battery packs, we’re back. So, you saw us clip it in. We’ve got it clipped all the way around. So, what I'm going to do now is, I'm going to go around it a few times and see if I can’t get a few more clicks here and there. Sometimes you will, and sometimes you won’t, but give it a good press to make sure – see that? I got an extra click right there. So, make sure to give it a good press all the way around. Looks like we’re good. Let’s install the shade part.
So, on the Thin Shade, it comes packaged a little funky, but it’s not a big deal, it’s just kind of reverse. So, make sure you’re installing your track and this track on the exterior of the window, OK? So, what we’re going to do, and also make sure this little lip, your pull handle, is not touching the window. I just tried to do it that way, and I was like, “The other one went in so easy, why is this not going in?” And then I realized, “Oh yeah, dummy, you’ve got it flipped around.” So, all right, let’s get it up here. I’ve got these little levers pulled open, all right? We’re going to push it in at a 45-degree angle just like that. And it’s going to come flush. And then we’re going to lock those in. Lock, lock. And then we’ll come down here and we’re going – that’ll tighten up once I get this one going. Make sure that – there’s a little notch for the string to go through. Make sure the string is through that notch on each side of this one, OK? So, make sure you get that in there. Pop it in there and in here. Clip and clip. There we go. All set.
How Does Thin Shade Work?
Cory: So, bring it up, and if you want privacy, bring it right back down. This is a great mod. I'm going to run a small bead of silicone along the top just to be safe and this will be done.
For those of you worried about privacy, Brooke is actually in there waving at you right now. It works pretty good. Awesome.
Demonstration of How to Install Screen Shot® from Lippert
Cory: So, I’ve unboxed the Screen Shot. We’ve got a couple pieces here to get started. First, we’ve got each end. You’ll notice one end is already on the Screen Shot, and this little screw is going to face down once we – we’re going to put the Screen Shot here. This little screw is going to face down. So, you want this side to look similar, all right? So, you can see here how they’re going to look very similar there. I'm going to thread this pull right through that, just like that, OK? And then, we’re going to kind of come in at an angle a little bit and slide it on up there, OK? So, we’re going to be ready to go. The next thing we’ll have to do, we’ve got a couple of sheet screws. We’re going to screw in right here to hold this up. And then this is going to wrap around here and we’re going to attach it there. And that’ll be it. Let’s get started.
OK. So, if you’re by yourself, the Screen Shot is just going to kind of slide up and down just like that. So, I'm going to bring it all the way to the top. And you’ve got two channels in your door here, and I'm going to screw this into the inside channel to hold it, all right? So, there’s that side right there, all right? We’re all flush against here. You can’t see that, but it’s looking good. Now, you’re going to need a square bit. If you own an RV, you definitely know you need one of these square bits. You’re going to use a square bit and a Phillips head. Let me get this other side right quick.
All right. Our next step, we have to secure this pull here to the inside of the door frame, all right? So, Lippert tells us to come in one half of an inch from the door frame. There we go. Now, they give you a self-tapping screw, but I'm going to screw a little pilot hole here. I'm going to use a 5/64 bit. Check it out. All right, so let’s see if I can get this on the first take. I'm going to give myself a good bit of slack here, all right? Get that lined up pretty close and let’s see what we got. Oh, other way. All right. I think we’re set. Let’s see how it works.
How Does Screen Shot Work?
Cory: OK, friends. So, we have some special guests here. Lippert certified – well, kind of – screen door testers, Townley and Beckett. Townley, how old are you?
Townley: Seven.
Cory: Beckett, how old are you?
Beckett: Four.
Cory: Four. I can’t believe he’s being quiet, that never happens. OK. So, you guys are going to go inside, pretend like you get a juicy, and then come on back out and let’s see what happens, all right? All right, let’s see what happens. Oh, that’s a good sign, I didn’t even – come on out. All right, here we go. Come on out, Town. All right. It worked. Townley, did you try to close that?
Townley: No.
Cory: And it closed itself?
Townley: Yes.
Cory: All right, looking good.
Demonstration of How to Install Screen Defender from Lippert
Brooke: All right. Next up on our RV door renovation, we have the Screen Defender. So, we have this to protect this [our screen door].
Cory: All right. We did the Screen Shot first, because we’re going to have to measure for the Screen Defender. If you’re lucky enough to have the proper size door, this thing actually just literally pops in like that, and you’re done. But we have a little gap here. So, I've got to measure that. And then Lippert includes a gap filler here. Let’s get going on that. So, let’s see what we’ve got. Now, I’ve got to measure to the bottom of the Screen Shot, not the H bar. So, if you don’t have a Screen Shot, you’re going to measure to the bottom of the H bar. This is an H. But if you have a Screen Shot, measure to the bottom of that. And I have right at two and a half inches. So, Lippert’s hooking you up. If you’re gap here is less than two inches, you’re going to use the short gap fillers. But ours is more than that, so we don’t need those. We’re going to use what they call the standard.
So, your standard gap fillers are going to be about four inches worth of gap covered. We only need about two and a half. So, I'm going to slide this down an inch and a half or so and give it a measure. I'm at two and three quarters. So, let’s come down a little bit further. Drop it in right there. Two and a half. Let’s slide it in.
So, you’ll notice a little protrusion here on each side. That’s going to fit in the doorway here. And it’s a pretty tight fit. You can slide it down. And now we’re ready to install the Screen Shot.
All right, we got out gap closed up here. We’re going to angle this in. Inside channel again. The gap filler goes in the inside channel, too, by the way. And I'm going to set myself down into the gap filler. And I'm going to put that in, and I'm going to clear that. And we’re all set. Looks good, Ma.
Brooke: I like it.
Cory: See, Bullet [our dog] can’t get out now.
RV Entry Door Makeover Final Thoughts
Cory: So, just some final thoughts on what we did today. Brooke?
Brooke: Well, huge thank you to Lippert for providing these upgrades to our door. We hope you enjoyed our makeover, because we are really excited. I'm especially excited about having the new window. I think it’s going to be great to see out onto our campsite, and also to have a shade that’s functional, so it can keep out the sunshine and we close our blinds at night. So, it’ll be great to have that really easy shade to close and, hopefully, it’ll be good and dark in the morning.
Cory: Well, it’s hilarious because we’ve had these frosted windows on here for over three years. And, I don’t know, probably, what, 70 camping trips, baby? So, when I installed the other one over this past weekend, just to look out of it and see, it’s weird, but in a really good way. So, I thought it was really fun. And the shade is almost a blackout shade, so it’s cool. And it’s pretty easy to install.
Brooke: I think it was very easy.
Cory: You do need two people, but I thought it was pretty easy. I'm actually really excited about this Screen Defender here. Tallulah is our, she’s a rescue, she’s a Boykin Spaniel mix. I think she’s got a little Aussie Shepherd in there, and she’s a go getter. So, when she sees a squirrel or the leash or another human being, another dog, she is worked up and ready to go. I'm surprised she hasn’t punched this thing out yet. So, I think we’re really pushing out luck there. I'm happy to have this. And then, obviously, the Screen Shot. If you got kids, our kids were born in a barn, I don’t know about yours. Maybe y’all have heard that saying. But yeah, they always leave the door open. So, that’ll come in handy as well. And Brooke hates mosquitos.
Brooke: I hate mosquitos, so –
Cory: Who doesn’t? All right. So, we’ll link all the stuff in the description box below. Again, thank you to Lippert. And I hope you found this useful.
Brooke: Thanks. Bye-bye.
Cory: See you.
Makeover Your RV Entry Door
Thin Shade™ for RV Entry Doors

Unlike other shades on the market, our kit includes a tinted glass window PLUS a uniquely designed compact, horizontal blind that fits right into your window frame — allowing you to go in and out of your door as usual.
Does your RV door have a “Thin Shade™ Ready” decal on the window? If it does, then it is already prepped with the Thin Shade window frame. All you need is the shade available at this link: Thin Shade™ Ready RV Window Shade for Prepped Lippert Entry Doors
Screen Shot® Automatic Screen Door Closer for Lippert Entry Doors

How does it work? The Screen Shot's custom anchors were designed to fit snugly into your screen door's inner channels while a pair of anchor screws hold it in place. The Screen Shot's elastic webbing is installed directly into the door jamb. When the screen door is opened, the elastic webbing expands, then automatically pulls the door shut.
Screen Defender RV Entry Door Screen Protector

Protect your pet and your RV with the Lippert Screen Defender Entry Door Screen Protector. Bring your pet along with you for the adventure without worrying about them getting out of the RV at unwanted times or damaging your Lippert screen door.