Spring Savings Are Here | Shop the Sale
RV Door Replacement How-to

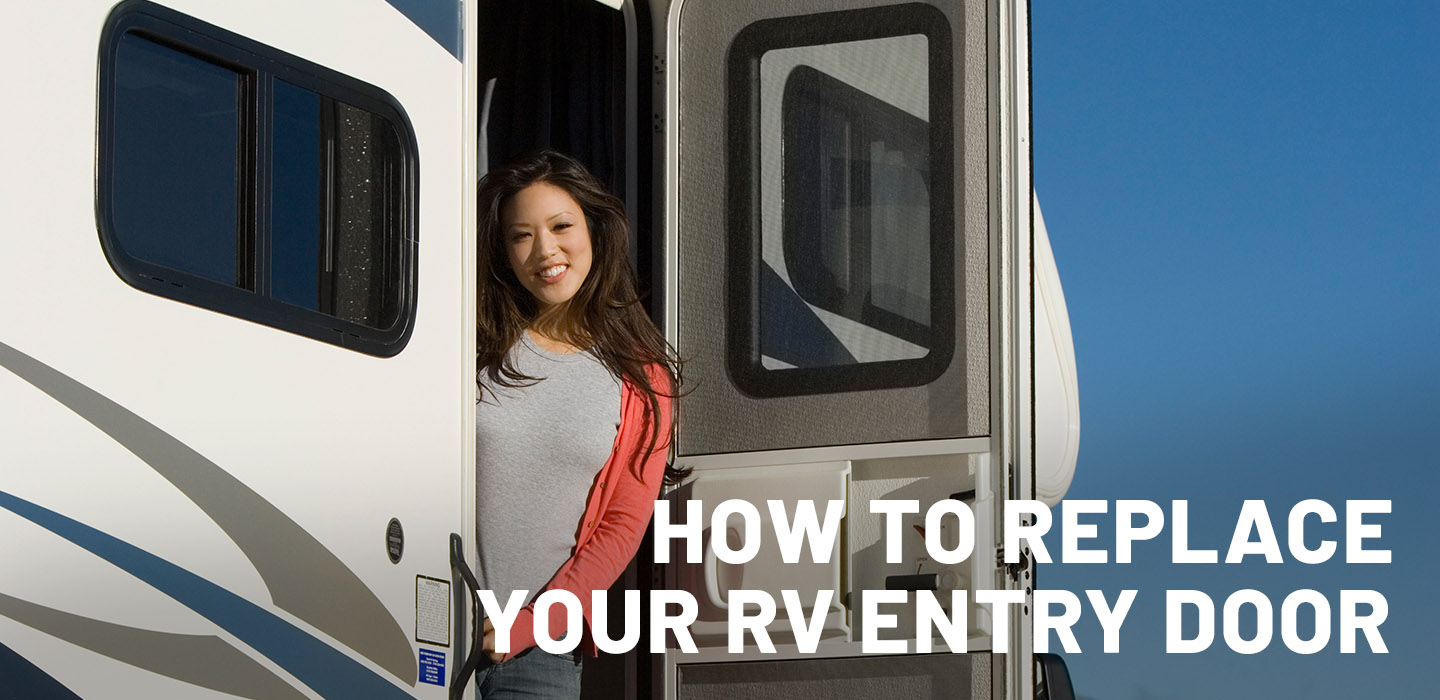
RV Door Replacement in 5 Simple Steps

Share article

Replacing an RV entry door is a straightforward DIY project that can usually be completed in a single day when you have the correct door size, proper sealant tape, and the right mounting screws. The process involves removing the old door, preparing and sealing the opening, installing and fastening the new door frame, sealing the perimeter, and adjusting camber so the latch‑side gap stays within specification for a secure, weather‑tight seal.

This step‑by‑step guide explains exactly how to replace an RV entry door, what tools and materials are required, how to confirm proper fit using rough opening measurements, hinge side, and swing direction, and how to make final adjustments so the door opens smoothly and seals correctly. It is designed for RV owners who want to save time and money by handling the replacement themselves while following best practices that prevent leaks, alignment issues, and premature wear.

Contents:

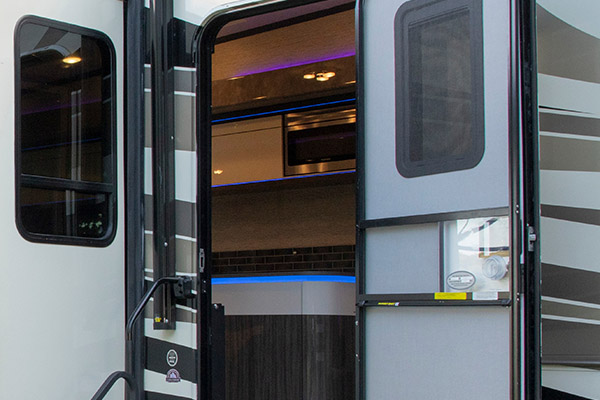
On occasion, you may have to change out the entry door on your RV. We know this can seem like a daunting DIY project, but it’s not nearly as hard as it might seem. We will lay out the procedure for you here, step by step, so that you can replace the door yourself and save a lot of time and money by not paying someone else to do it for you.

Replacing an RV entry door is usually a same‑day DIY project when you have the correct door size, proper sealant tape, and the right mounting screws. The job is mostly removing the old door, sealing the new frame, fastening it correctly, sealing the perimeter, and then adjusting door camber so the latch side gap stays within spec for a weather‑tight seal.

Replacement RV DoorReplacement RV Door

Video Tutorial for Replacing Your RV Entryway Door

This video shows the full RV entry door replacement process from removal through final camber adjustment, making it easier to visualize each step before starting the installation.

Before You Start: 3 Things That Prevent Most Install Problems

Most RV door installation issues are avoided by having a second person to help lift the door, using the correct sealant tape thickness for your wall construction, and selecting the proper screw type for your RV's framing.

  1. Plan to have a second person available when you lift the door in or out of the opening, because door assemblies can be awkward to hold square while you fasten them.
  2. Confirm you have the right sealant tape for your wall construction. For example, the post calls out different maximum tape thickness depending on laminate versus wood walls, which matters because too much material can prevent the frame from sitting flush and sealing correctly.
  3. Verify you’re using the right screw type for your RV category and framing. The post distinguishes #8 screws for towables and #12 screws for motorized units, and the owner’s manual warns against self‑tapping screws in wood framing.
RV Door ReplacementRV Door Replacement

How to Confirm Fit: Rough Opening, Hinge Side, & Swing Direction

Before ordering or installing a replacement RV door, it’s critical to confirm three things: the rough opening size, the hinge side, and the swing direction. Getting any one of these wrong can lead to fit issues, sealing problems, or a door that simply won’t function as intended.

1. What Is a Rough Opening on an RV Door?

The rough opening is the framed opening in the RV wall that the door and its frame mount into. This is not the size of the door panel itself. Measuring the door slab instead of the rough opening is one of the most common mistakes made during RV door replacement.

To measure the rough opening correctly, measure the width and height of the opening from the inside edge of the wall cutout to the opposite inside edge. These measurements determine which replacement door frame will fit properly. A door that is too small can leave gaps and compromise the seal, while a door that is too large may not fit into the opening at all.

Accurate rough opening measurements are especially important for maintaining proper weather sealing, structural support, and door alignment once the frame is fastened in place.

2. How to Identify the Hinge Side of Your RV Door

The hinge side refers to which side of the door the hinges are mounted on when you are standing outside the RV and facing the door. If the hinges are on the left, it is a left‑hinged door. If the hinges are on the right, it is a right‑hinged door.

This matters because RV doors are manufactured with hinges pre‑installed and are not designed to be flipped or reversed. Ordering a door with the wrong hinge side will prevent proper installation and operation.

When checking hinge side, always look at the door from the exterior of the RV, not from the inside. This ensures you are identifying the hinge orientation the same way manufacturers and replacement guides define it.

RV Camper Door ReplacementRV Camper Door Replacement

3. What Swing Direction Means & Why It Matters

Swing direction describes which way the door opens in relation to the hinge side. Most RV entry doors are designed to open outward, but the direction the door swings to the left or right affects accessibility, safety, and clearance.

For example, swing direction can impact how easily you enter or exit the RV, whether the door interferes with awnings or exterior accessories, and how the door behaves in windy conditions. Matching the original swing direction ensures the replacement door operates the same way as the factory door and avoids unexpected clearance issues.

When confirming swing direction, open the door fully and note the direction it moves and where it rests when open. This information, combined with hinge side and rough opening size, ensures the replacement door matches your RV’s original configuration.

Why Confirming All Three Prevents Installation Problems

Rough opening size determines whether the door fits the RV wall. Hinge side determines whether the door can be mounted correctly. Swing direction determines how the door functions once installed. Together, these three factors ensure the door seals properly, opens smoothly, and latches securely after installation.

Taking a few extra minutes to verify these details before ordering a replacement door can prevent delays, returns, and unnecessary adjustments during installation.

Tools Needed for Replacing Your RV Door:

The first thing you will want to do is make sure you have everything you need to complete the project. Replacing an RV door requires basic hand tools, RV‑approved sealant and tape, the correct mounting screws for your RV type, and ideally a second person to assist during installation. Here's the official list:  

  1. Drill, either electric or cordless with driver bits and a set of drill bits  
  2. Caulking gun with sealant 
  3. Putty tape or PVC foam tape (for laminate wall, 1/8” max thickness, for wood wall, 1/4” max thickness) 
  4. #8 screws for travel trailers or towables, or #12 screws for motorized RVs or motorhomes, the number of each depending on the size of the door. (It should be noted here that if yours is wood framing, do not use self-taping screws.)  
  5. An extra person to help when needed  

Replacing an RV Door Step by Step

RV door replacement follows a clear sequence of removing the old door, sealing the new frame, fastening it securely, sealing the perimeter, and adjusting camber for proper closure.

1. Remove the Old Door

Remove the old door from the RV by first removing the drip cap and snap trim if applicable, then remove the screws holding the door in the frame and carefully pull the door from the edge. Once removed, set it aside and out of the way. 

DoorDoor

2. Apply Putty Tape or PVC Foam Tape

If old tape is present, remove it and clean up any remaining adhesive. Place the new putty or PVC foam tape all the way around the outside of the door frame, then set the door into the rough opening using the tape to secure the door frame to the wall.  

3. Secure the Door with Screws

Now, use your drill and the appropriate screws to secure the door to the frame. After entirely securing the frame to the coach, use a scraper to remove the excess tape. Make sure the door operates properly. Open and close the door several times to ensure it is working correctly. You may need to adjust the door by either adding or removing the camber from the door to get it to close and seal properly.  

4. Apply a Bead of Caulk around the Entire Door

Use your caulk gun and sealant to put a bead of sealant around the entire door frame. Re-install the drip cap and snap trim if applicable. 

5. Adjust the Camber

You should adjust the camber, or angle of your new entry door whenever the gap is either less than 1/8” or more than 1/4” anywhere along the vertical edge on the handle side of the door. To do this, close the door and then use a tape measure to determine where you need to add or subtract camber. 

How to Adjust the Camber of an RV Door

  1. To subtract camber: If the camber needs to be removed from the top of the door, use a 12” to 15” 2x4 stud and place at a 45-degree angle at the bottom of the door, hold the 2x4 in place with the door and apply pressure to the top of the door. 
  2. If the camber needs to be removed at the bottom of the door, do precisely the opposite and place the 2x4 at a 45-degree angle at the top of the door and apply pressure to the bottom of the door until you are within the range of less than 1/8” minimum gap or 1/4 “ max gap along the entire edge of the door. 
  3. To add camber when you have no gap: Do the opposite of subtracting the camber above. Simply place the 2x4 at a 45-degree angle on the corner of the door that needs camber added and apply pressure to the opposite corner until you are within the 1/8” to 1/4” threshold and have a good seal around your door. 

If you follow these simple instructions, replacing the door on your RV should be an easy DIY project that can be completed in a few hours / one day. 

Troubleshooting Your RV Door After Installation

Post‑installation issues such as poor latching, rubbing, or leaks are usually caused by frame misalignment, incorrect camber, or incomplete sealing and can often be corrected with minor adjustments.

If the door closes but doesn’t latch consistently, the frame may be slightly out of square or the camber may be out of range, so recheck the latch‑side gap and adjust camber as described above.

If the door feels tight or rubs during swing, verify that fasteners were tightened evenly and the door operated smoothly during the open‑close tests the guide recommends. Small alignment corrections now can prevent wear on hinges and latch components later.

If you suspect a leak, the most common causes are incomplete perimeter sealant coverage or an uneven compression seal behind the frame where tape was applied. Reinspect corners and the top edge around the drip cap area first, because water tends to track downward from there.

Frequently Asked Questions about RV Door Replacement

  1. Can I replace my RV door myself, or do I need a professional?

    Many RV owners can replace an RV entry door themselves using basic tools and clear instructions. If the door opening is damaged, the RV has wiring routed through the door, or alignment issues are present, professional installation may be the better option.

  2. How do I know if my RV door needs to be replaced instead of repaired?

    An RV door typically needs replacement if it is warped, no longer seals correctly, has water damage, or has recurring lock or hinge problems. Small issues such as worn seals or loose hardware can often be repaired without replacing the entire door.

  3. Are RV doors universal, or do I need a specific size?

    RV doors are not universal and must match your RV’s specific opening. Correct width, height, hinge placement, swing direction, and frame depth are essential to ensure proper fit, sealing, and safe operation.

  4. What measurements are needed to replace an RV door?

    You will need to measure the rough opening width and height, confirm door thickness, identify the hinge side, and determine the swing direction. Accurate measurements help prevent installation issues and weather leaks.

  5. How long does it take to replace an RV door?

    Replacing an RV door typically takes one to three hours for a standard installation. Additional time may be needed if old sealant must be removed, wiring is present, or adjustments to the frame are required.

  6. What tools do I need to replace an RV door?

    Most RV door replacements require common hand tools such as a screwdriver or drill, a measuring tape, a putty knife for sealant removal, and RV-approved sealant. Always follow the manufacturer’s installation instructions.

  7. Do RV replacement doors come pre-hung with frames?

    Many RV replacement doors are sold pre-hung in a frame, which helps ensure proper alignment and simplifies installation. It is important to confirm whether the replacement door includes a frame or is designed to fit into an existing one.

  8. How do I prevent water leaks after replacing an RV door?

    Preventing leaks depends on proper alignment and correct use of RV-safe sealant around the door frame. After installation, testing the seal with water and inspecting for gaps can help catch issues early.

  9. Can I reuse my existing RV door lock and hardware?

    In some cases, existing locks and hardware can be reused, but compatibility depends on door thickness and cutout dimensions. Many RV owners choose new hardware to ensure proper fit, security, and smooth operation.

  10. Are RV entry doors different from interior RV doors?

    RV entry doors are designed for exterior use and include weather seals, locking systems, and reinforced construction. Interior RV doors are lighter and are not built to handle outdoor exposure or security needs.

  11. Will replacing my RV door improve insulation and noise reduction?

    A new RV door can improve insulation and reduce outside noise, especially if the original door had worn seals or structural issues that allowed air and moisture to enter.

  12. Is replacing an RV door the same for travel trailers and motorhomes?

    The overall process is similar, but door sizes, mounting methods, and designs can vary between travel trailers, 5th wheels, and motorhomes. Always follow instructions specific to your RV type and door model.

  13. What should I check after installing a new RV door?

    After installation, ensure the door opens and closes smoothly, the locks engage properly, the seals are tight, and the door sits level in the frame. Rechecking fasteners after your first trip is also recommended.

  14. Can I upgrade my RV door when replacing it?

    RV door replacement is a good opportunity to upgrade features such as window style, locking systems, or insulation. Any upgrade should be compatible with your RV’s door opening and structure.

    Disclaimer: All content provided on this blog, including but not limited to photographs, illustrations, recommendations, and technical approximations, is intended for general informational and demonstration purposes only. It does not reflect the specifications, capabilities, or requirements of any particular vehicle, vessel, equipment, or component. Always consult the appropriate manufacturer’s Owner’s Manual and follow all applicable safety, legal, and technical guidelines.

    Tim Heinen
    Tim Heinen
    Automotive & RV Writer

    Tim has been writing content in the Automotive and RV space for over a decade. With a particular interest in towing and truck accessories, he has written countless informational articles and how-tos on everything from the basics of hitching up a trailer to the finer points of shopping for a replacement grille guard. As a writer, Tim is passionate about providing real value to his readers through meaningful and honest answers. When he’s not crafting content, he enjoys spending time outdoors.

    Related Articles

    Loading...