The Complete Guide to Replacing a Trailer Axle
Share article
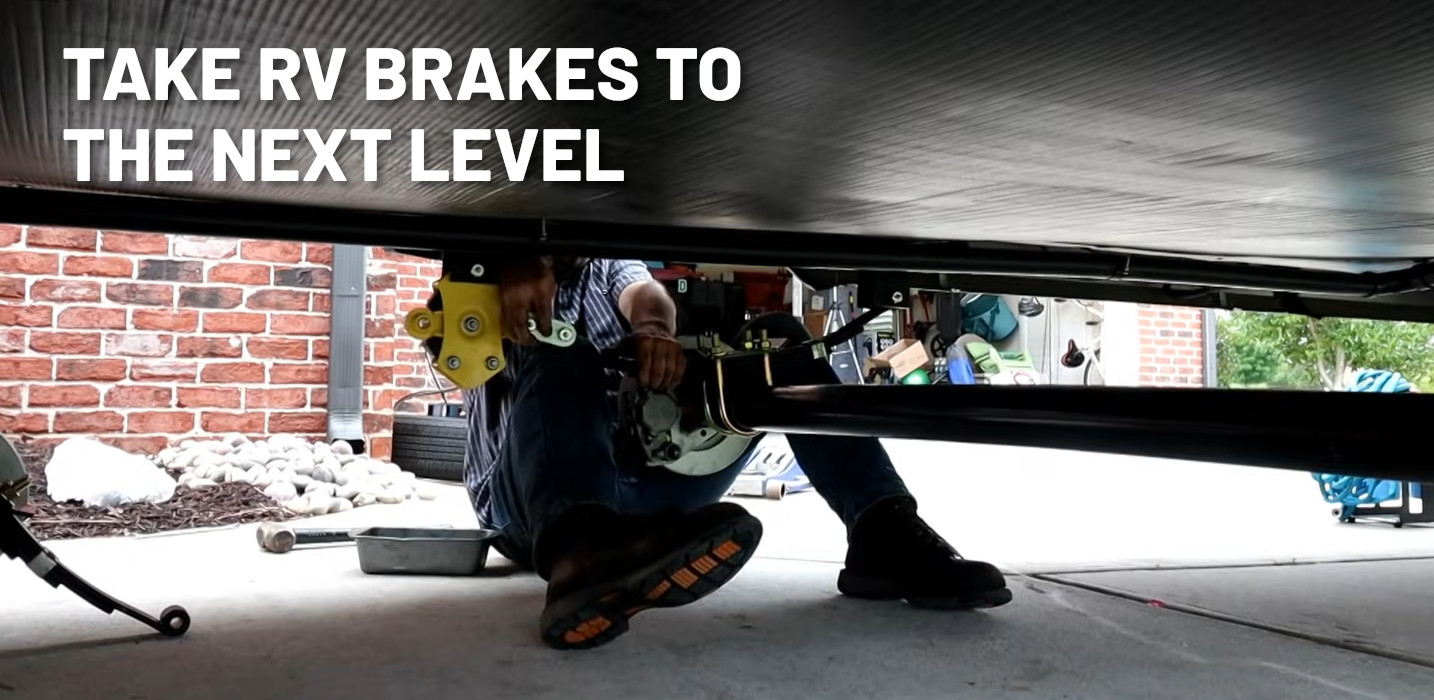
Trailer axle replacement may sound intimidating, but it doesn’t have to be. Whether you’re replacing a trailer axle on your full-size RV travel trailer, a small utility trailer or a boat trailer axle, this guide lays out the steps needed to complete the process from start to finish.
Before installing a new trailer axle, make sure you have the tools needed for the job and the right axle to fit your rig.
In this guide, we’ll first walk through the process of replacing the entire axle assembly. If you’re interested in only replacing individual components on an existing assembly, choose from the options below.
Which Axle Component Are You Replacing


12 Simple Steps for Replacing a Trailer Axle Assembly
Before you start the trailer axle replacement process, make sure your trailer is parked on level ground.

Step 1: Jack up the trailer
Use a floor jack to lift the trailer by the frame, following the trailer manufacturer’s specifications. Make sure the trailer is supported with jack stands.
Step 2: Remove the wheels
Using an impact driver, breaker bar or wrench, remove all of the lug nuts from the wheel. Then, remove the wheel from the hub. If your trailer is especially rusty, this step may require a little extra elbow grease. Remove the wheels from both sides of the trailer and set them aside.
Step 3: Cut the power and ground wires
This step will not apply if the axle you’re replacing is an idler axle. However, if your axle is equipped with electric trailer brakes, you’ll need to locate the power wire and ground wire. These wires will need to be cut to avoid snagging while removing the old axle. We’ll reconnect them to the new axle later.

Step 4: Jack up the axle
Using your floor jack again, lift up the axle beam at the center point. Be careful not to further damage the axle. Lift until the axle is raised enough to take pressure off the shackles on the ends. Then, place jack stands under the axle beam to support it.
Step 5: Remove the shackles
With the axle properly supported, you can start to remove the bolts securing the shackles to the leaf springs. Once the nuts are removed, the bolts may need to be tapped out of their holes using a mallet and punch. With shackles removed, it is a good idea to inspect them for signs of wear or damage. Replace the shackles if necessary.

Step 6: Remove the hanger bolts
Follow the same procedure as step 5 to remove the shoulder bolts securing the leaf springs to the hangers. Remember to inspect and replace parts if needed.
Step 7: Lower the axle
With all attaching bolts removed, lift the axle up at its center point once more, using your floor jack. Once it clears the jacks stands, slide them out. Then, lower the axle back down all the way to the floor and slide it out from under the trailer.

Step 8: Raise the new axle into position
Slide your new axle assembly under the trailer, carefully resting it on its center point on the floor jack. Be sure to check that the axle is facing the correct direction! On Lippert axles, the ID tag should be facing toward the back of the trailer. Next, slowly raise it into the proper position, making adjustments as needed to line it up with the mounting points. Finally, with the axle positioned correctly, support it with the jack stands.
Step 9: Reattach the leaf springs
Starting with the hanger bolts, reattach the leaf springs to the trailer. You may need to make some fine adjustments to get the eyelets of your leaf springs to line up with the holes. Install the bolts in the hanger brackets first, and then reinstall the shackles, making sure to secure both sides of the trailer. It is also recommended that you apply grease to the bolts when reinstalling. Some bolts have a grease zerk that allows application using a grease gun. Standard bolts will need grease applied directly to the shaft before installation. Only finger-tighten until all the hardware has been replaced.

Step 10: Torque the hardware to the correct valves
Using a torque wrench, tighten the shackle bolts to 30-50 foot-pounds. Then, torque the hanger bolts. You will likely need to use a wrench on the bolt head while you apply the torque wrench to the nut.
Step 11: Reconnect your trailer brake wires
Now that your axle assembly is fully secured, you can rewire the trailer brakes. Splice the power wires together first, using a scotch lock. Make sure the fitting is tightly crimped! Then, splice the ground wires together using the same method.
Step 12: Reinstall the wheels
Place each wheel onto its new respective axle hub, and finger-tighten the lug nuts. Then, use your impact wrench to tighten the lugs down further, following a star-shaped pattern. For proper torquing, we recommend lifting the trailer frame once more off the jack stands, and lower it until the tires are firmly on the ground. This will keep the wheels from spinning while you torque the nuts to the correct values. Again, follow a star-shaped pattern, and be sure to reference your owner’s manual for the proper torque values.
How to Replace a Trailer Axle Beam
The trailer axle beam is the center portion of the axle, the cylindrical tube component that spans the width of the trailer, connecting one hub to the other. The axle beam can be replaced without having to replace the entire axle assembly, following the steps provided in the video below.
How to Replace Trailer Leaf Springs
Replacing trailer leaf springs may sound intimidating, but it’s actually a fairly simple and straightforward task. Follow along with the video below to familiarize yourself with the process. Be sure to refer to the owner’s manual of your own unit for specific details and recommendations.
How to Replace the Hanger Attachment Hardware
The attaching hardware connects the leaf springs and equalizers to the hangers and trailer frames. Sometimes, this hardware becomes worn or damaged and needs replacing. The video below shows how to replace the attaching hardware or AP kit.
Disclaimer: These photographs, recommendations, and approximations are intended for demonstration purposes only and do not reflect the specifications of any particular tow vehicle, recreational vehicle, or trailer. Always consult the manufacturer’s Owner’s Manual.